
Category: Tech Deep Dive
Reading Time: 5 Minutes
Reading Time: 5 Minutes
Have you ever wondered what happens behind the scenes when a professional repairs your iPad's touch screen? It is a delicate operation that requires precision, patience, and the right tools.
The process begins with carefully heating the device to soften the strong adhesive holding the screen in place. For larger iPads (like the 12.9-inch models), technicians often use specialized heating platforms to ensure even heat distribution. Once opened, the device is inspected—sometimes revealing missing screws or internal stickers from previous (and often poor) repair attempts.
The magic happens during the separation process. The broken touch layer must be separated from the perfectly good LCD panel underneath. This is done using a very fine wire (often called a molybdenum wire) that cuts through the optical adhesive (OCA) layer. It is a high-risk maneuver; one slip could crack the expensive LCD.
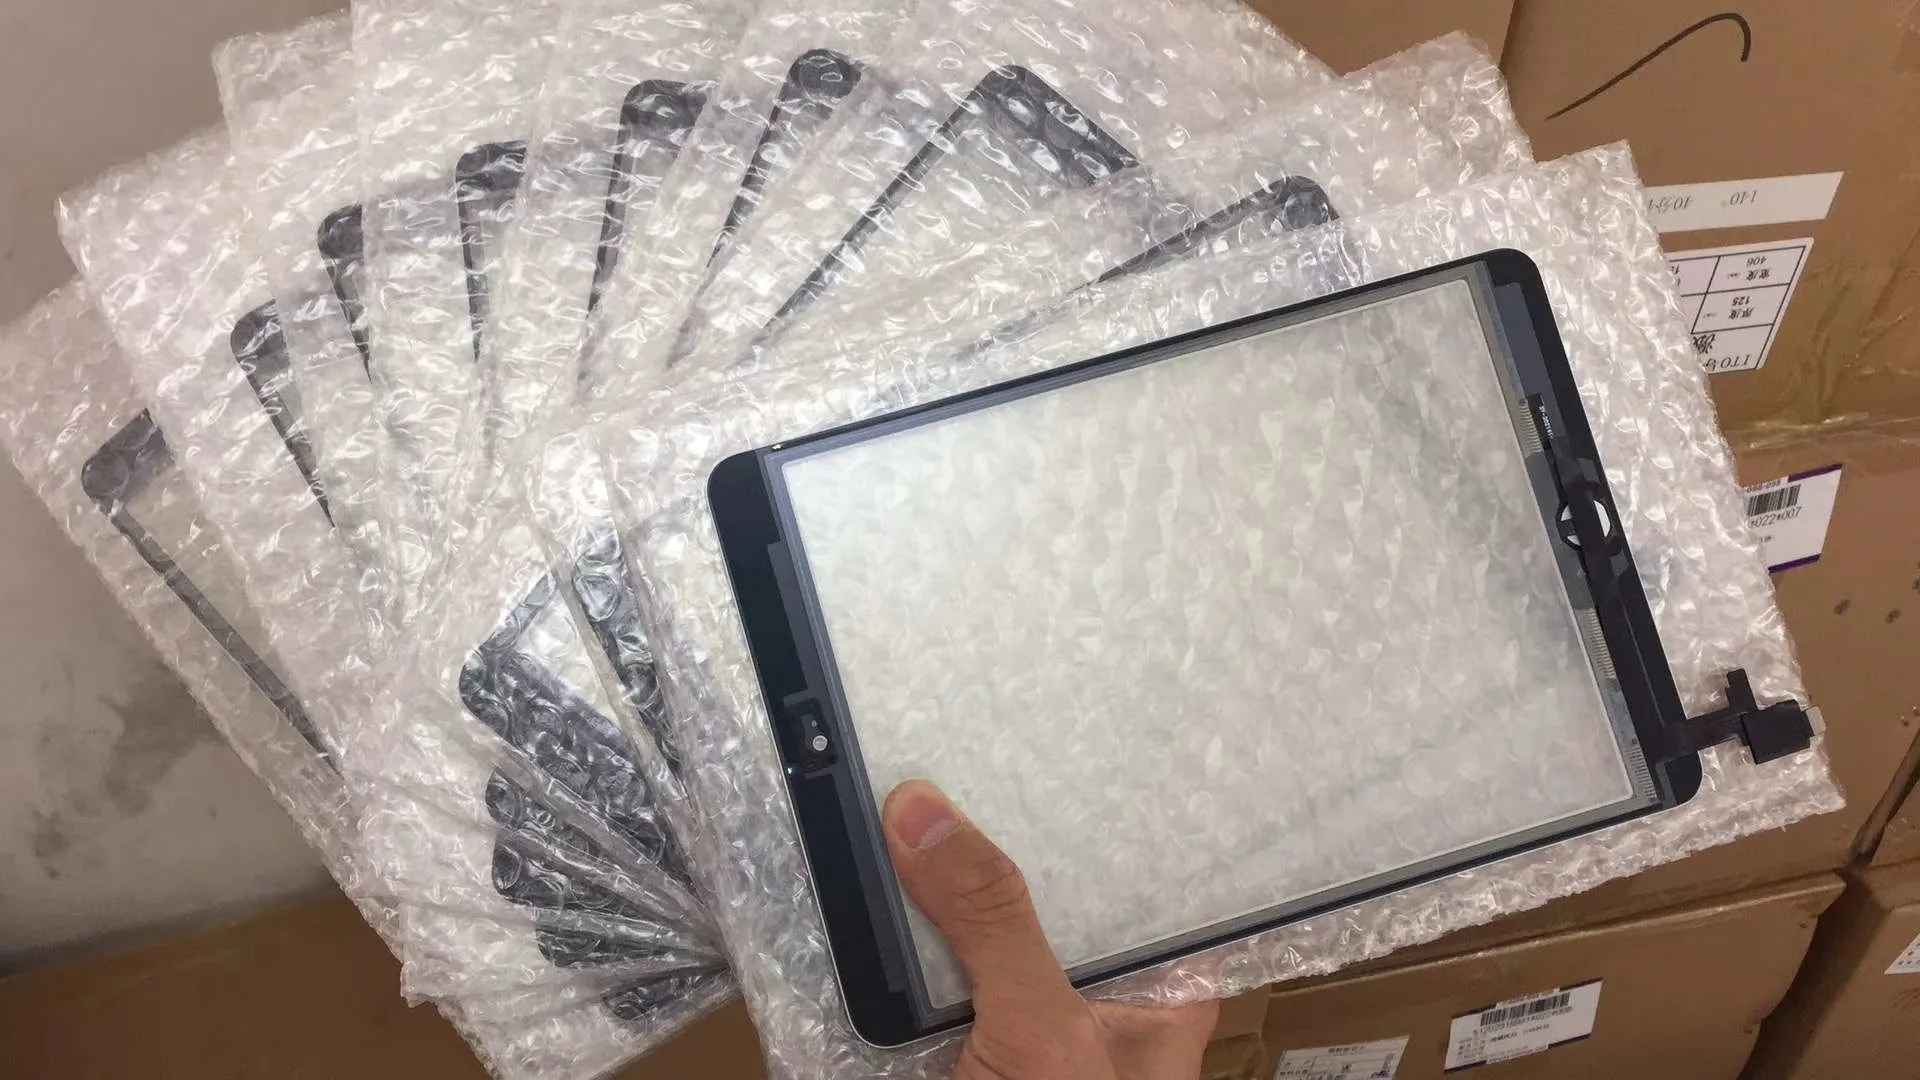
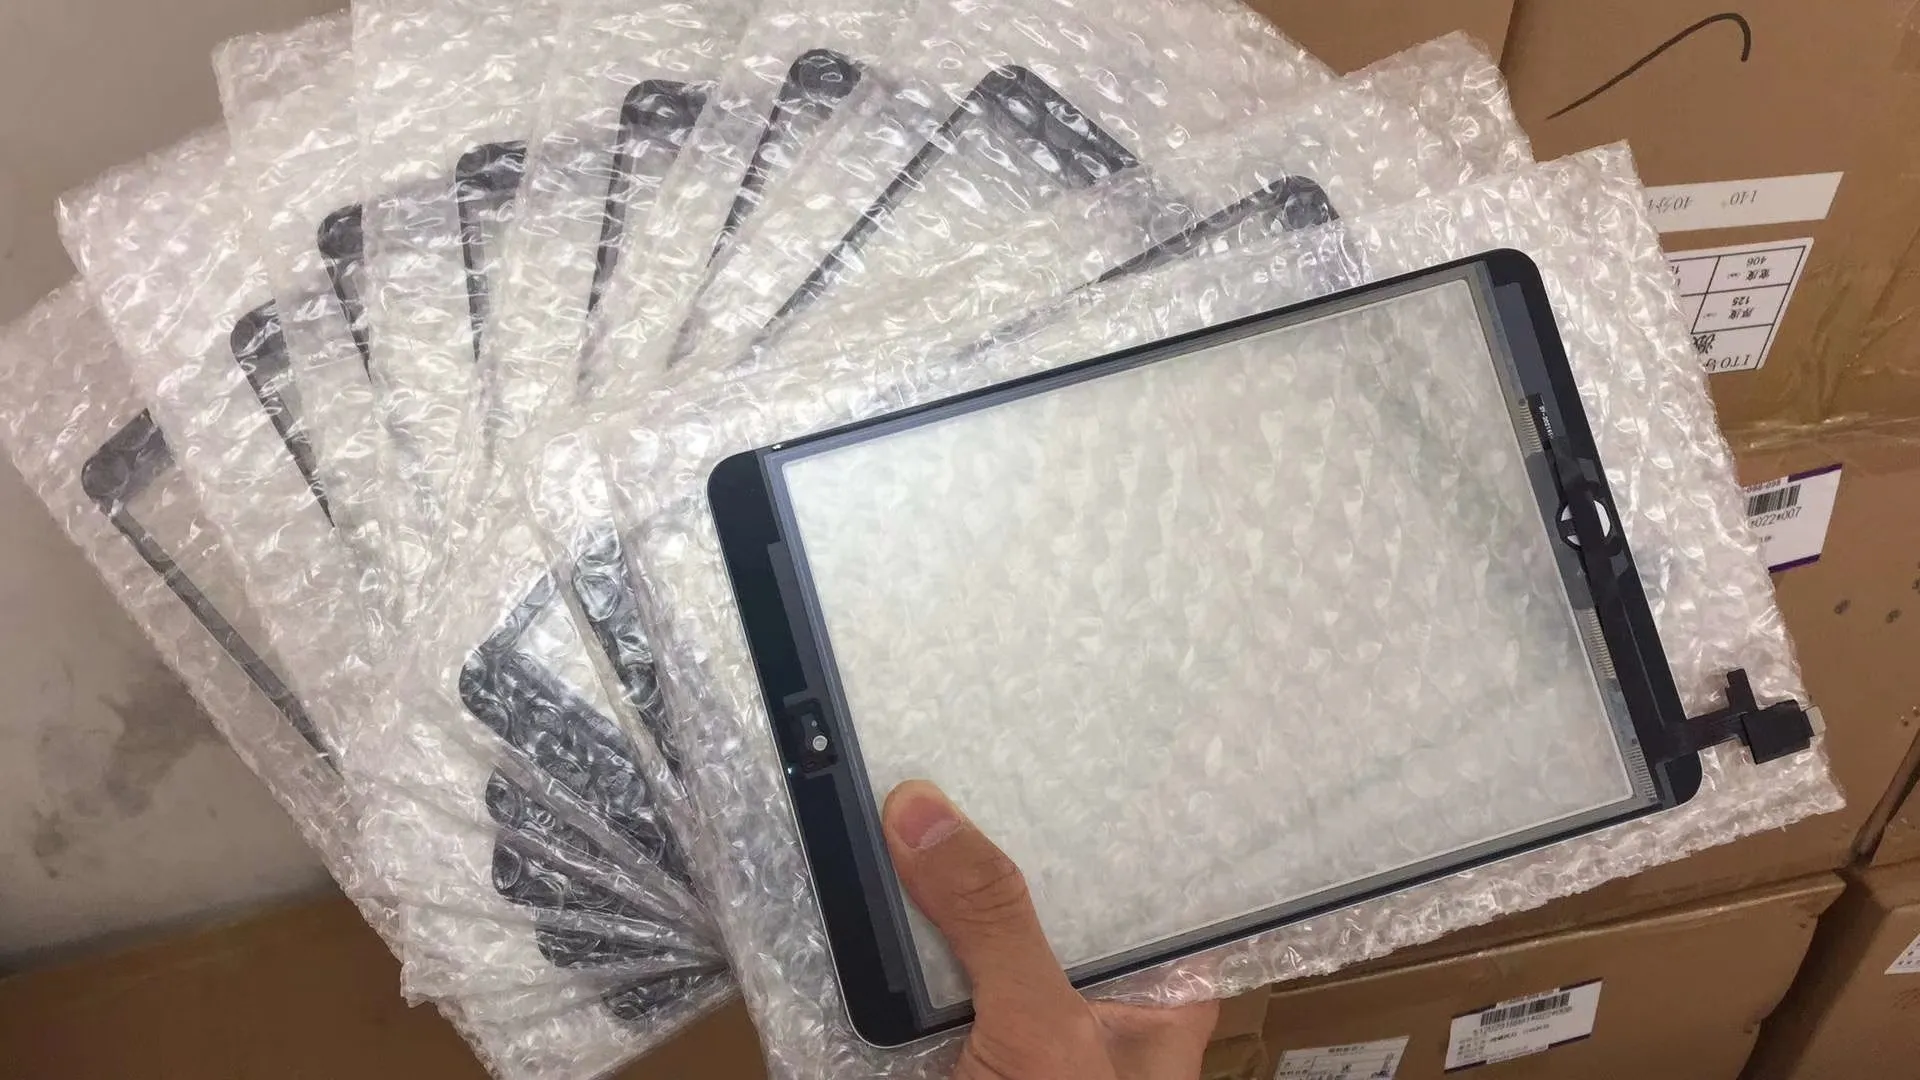
Once the old glass is removed, the technician spends considerable time cleaning off the residual glue—a tedious but crucial step. Finally, a brand-new touch outer screen (identifiable by its golden circuitry edges) is aligned and bonded to the LCD. After a thorough test to ensure every pixel of touch response is working, the iPad is sealed up, looking and feeling as good as new.